Wednesday, December 27, 2006

Branching out


I have seen so many nice pages with digiscrapping that I decided to try it again. (I tried to do a page when it first became popular, but the program I used messed with my computer system.) This time I downloaded the trial of Photoshop Elements. Here is my first completed page. I am pretty proud of it! Kits: Kendall by Leah Riordan, and Splendid by Shabby Princess
Template (altered a little): by RQH (Ruby)

Friday, December 22, 2006

Tagged and an old favorite

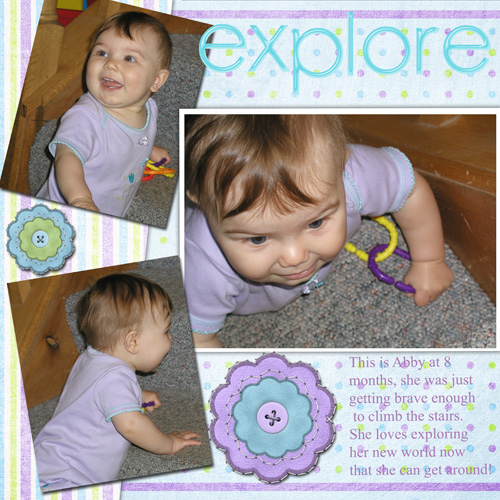
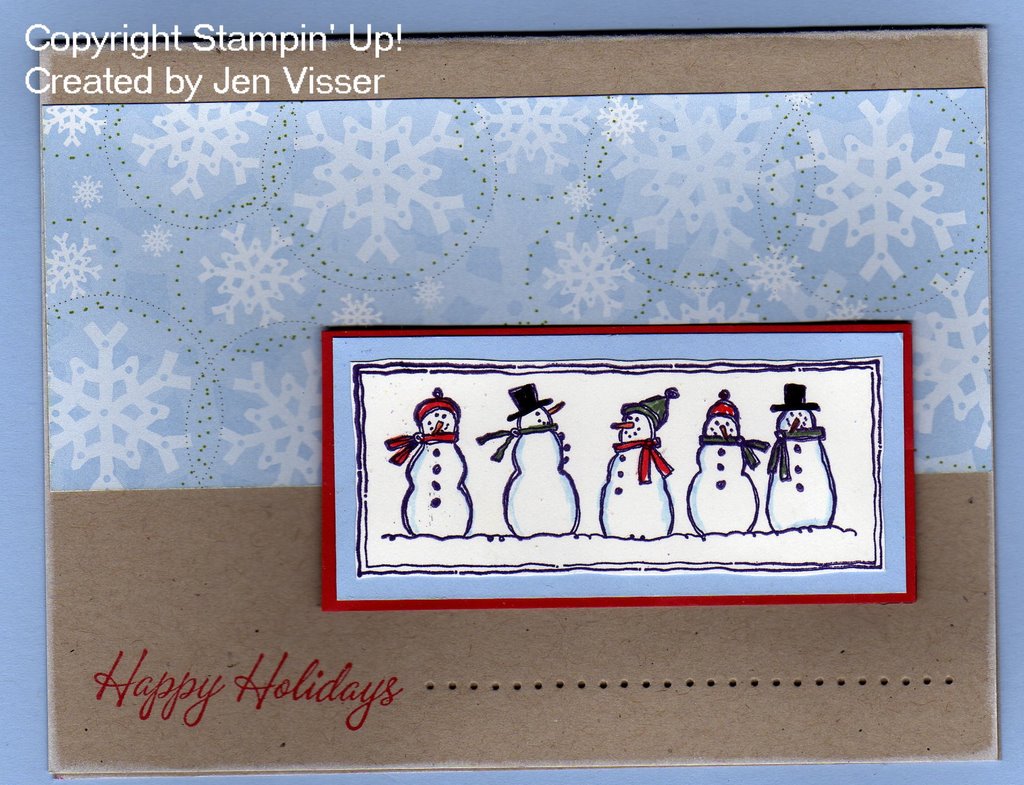
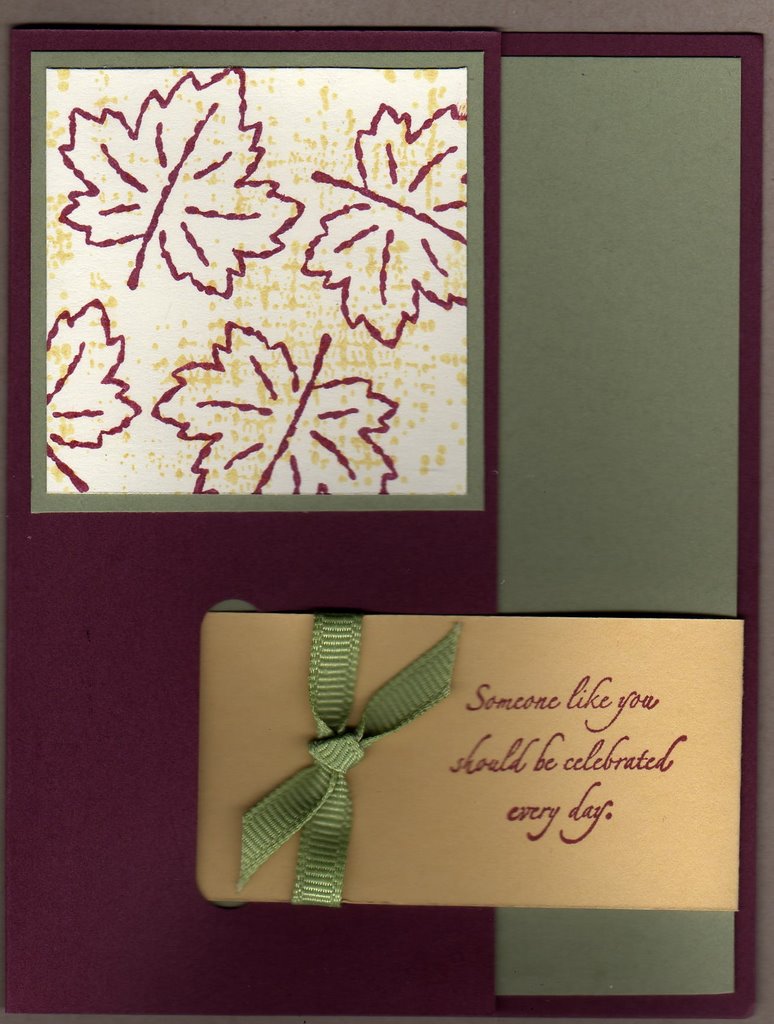
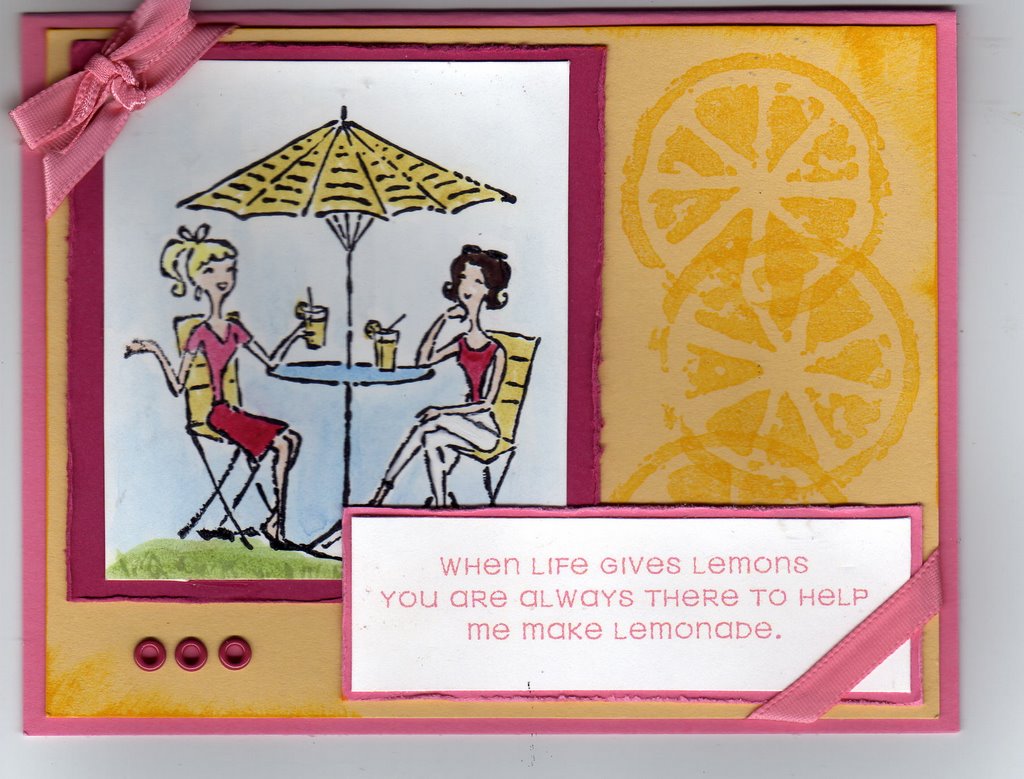
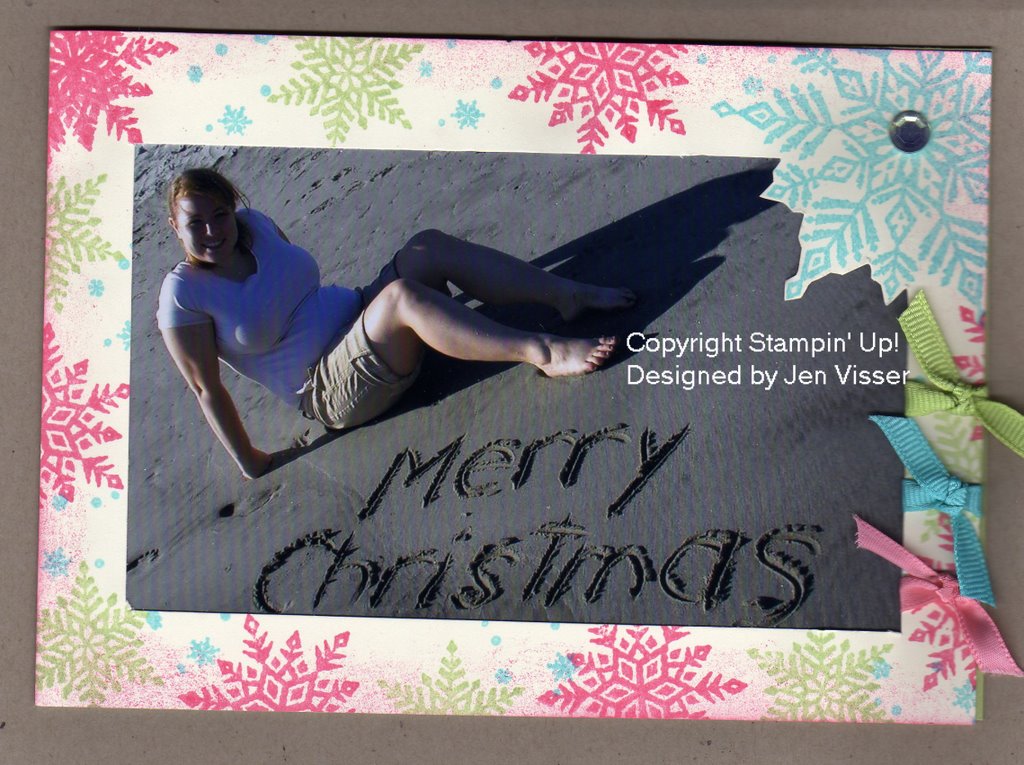
I got tagged by my friend Sam today. (Check out her blog, it is in my list of blog links on the side). Since I haven't made anything new lately I will also reshare an old favorite card of mine.

A. Available or single: Interesting question. I guess I am both single and available ;)
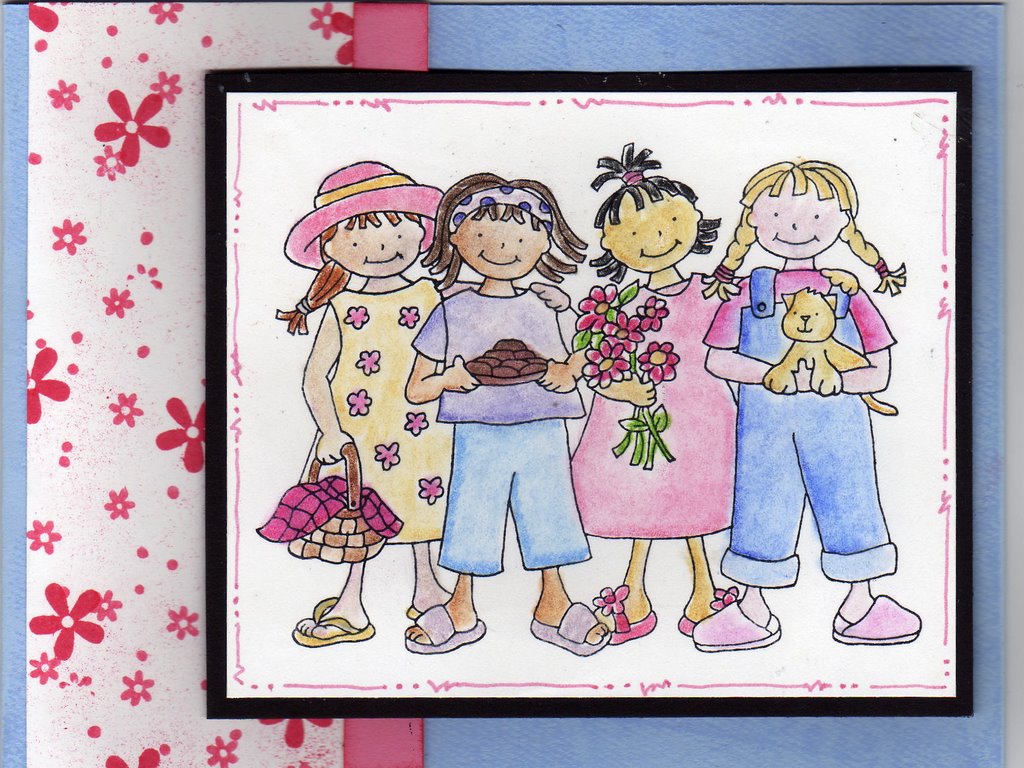
B - Best friend: I have to go with Sarah. She lives far away now but she will always be my best friend!
C - Cake or pie: Cake all the way!
D - Drink of choice: Strawberry lemonade--the kind with chunks of strawberry in it.
E - Essential item you use everyday: I have to say my laptop. I was lost when it was broken!
F - Favorite color: blue
G - Gummy bears or worms: bears.
H - Hometown: What counts as a hometown where you grew up or where you call home now?
I - Indulgence: Anything chocolate.
J - January or February: February because January is dark and dreary and cold and February is closer to spring.
K - Kids & names: NA
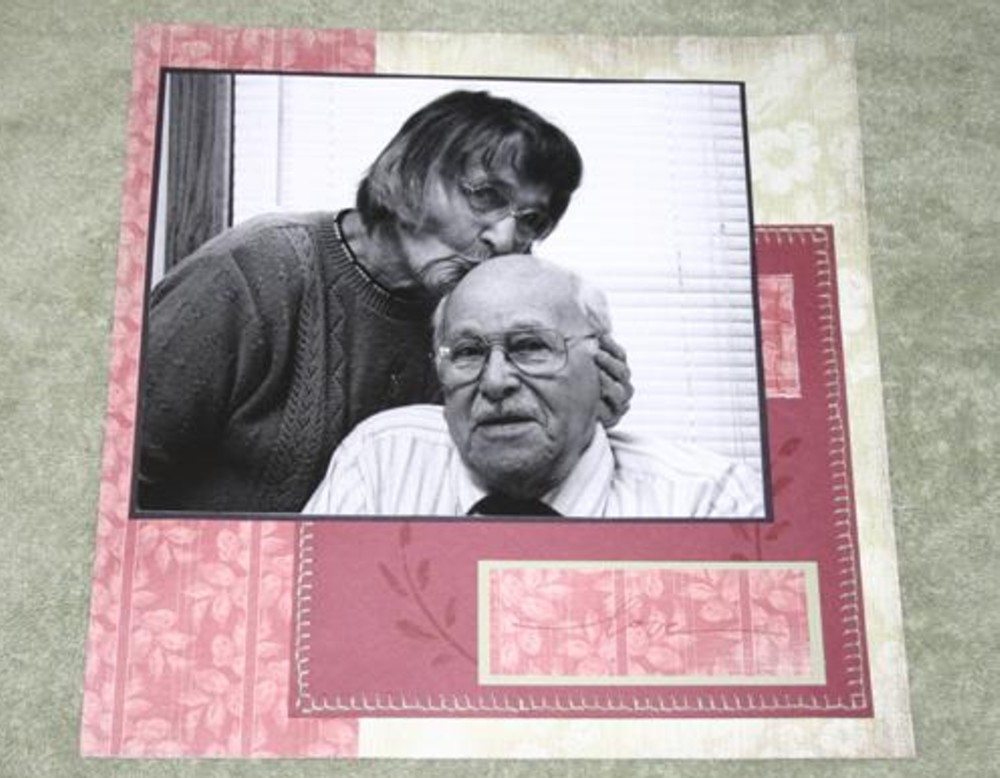
L - Life is incomplete without? I have to agree with Sam on this one and say love. M - Marriage date: Sometime in the next couple of years hopefully ;)
N - Number of siblings: 3
O - Oranges or apples: Apples
P - Phobias or fears: I have to think about that one. I really don’t like spiders, but I wouldn’t say I have a phobia.
Q - Fave quote: “It is better to remain silent and be thought a fool than to speak and remove all doubt.” And also “Friends know the song in your heart and can sing it back to you when you have forgotten the words.”
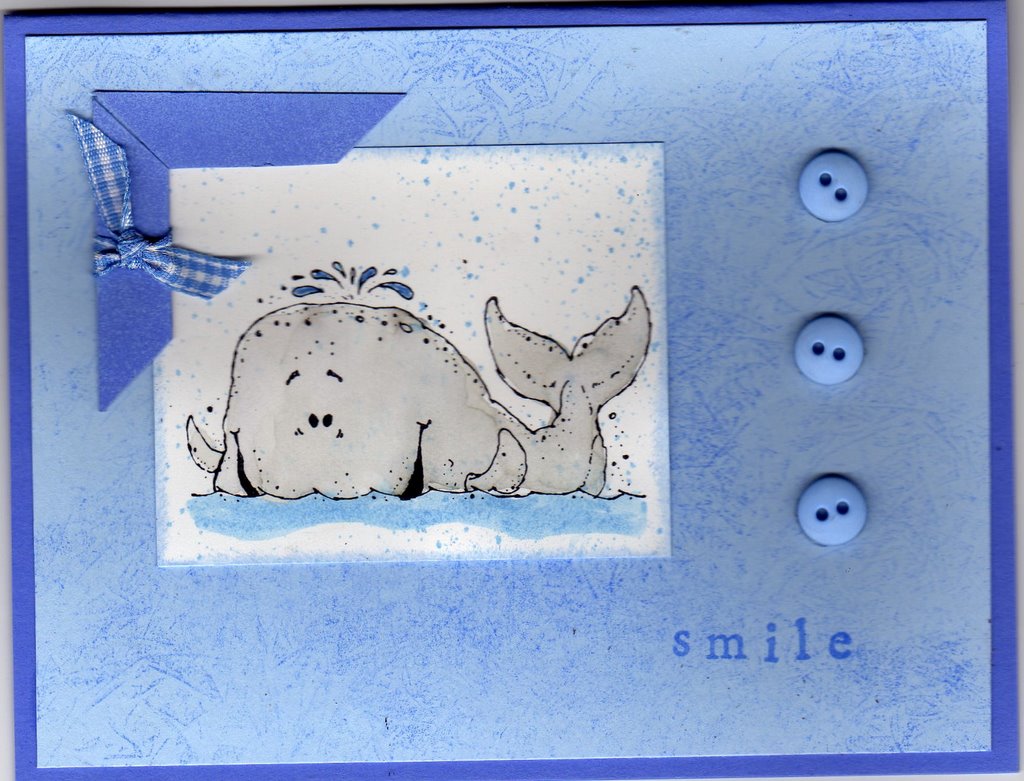
R - Reason to smile: To make someone’s day.
S - Season: Summer
T - Tag 3 or 4 people: Alora, Jess, and yikes I don’t have any other friends with blogs that Sam didn’t already tag.
U - Unknown fact about me:
V- Vegetable you don't like: Peas.
W - Worst habit: Talking before I think through what I am going to say. Can you say open mouth insert foot?!?!?!
X – X-rays: I have had my foot/ankle a couple of times and my wrist once. Oh yeah plus all the teeth x-rays I had when I had braces!
Y - Your fave food: I would have to say I love spaghetti, but I don’t love everyone’s spaghetti, I am kinda picky about how it is made.
Z - Zodiac sign: Don’t know and I don’t care.

Thursday, December 21, 2006

Technology GRRRRRRRR

You never realize how spoiled you are with technology until it goes out!
First my printer stopped printing. Of course that happened soon after I bought new ink for it. So I can't print anything out. Then my tv stopped working. It just decided one day that it didn't want to turn on ever again. Then my computer crashed and I had to pay to save files off of it that I needed and couldn't live without. I wiped my computer and loaded everything back on and I thought my troubles were over. Oh no they weren't. My computer worked, but the power cord broke--like cracked in half. Did you know they charge $80 for a power cord for a laptop?!?!?! What a ripoff! I finally had the money to buy a new power cord, but I have a feeling that my computer is just going to give out soon. This HP laptop has been more trouble than it was worth.

So through all of this I haven't been able to update my blog. I hope to put some new creations up soon.

I hope everyone has a blessed Christmas!

Thursday, November 30, 2006

yummy yum yum!


I thought I would share a yummy recipe with you today. For Thanksgiving I brought caramel corn. The guests couldn't stop eating it and the hostess had to keep the few leftovers b/c she liked it so much! It really is quite delicious!

CARAMEL CORN

Ingredients:
8-9 quarts popped popcorn (I pop it on the stove)
2 sticks margarine
2 cups brown sugar
1/2 cup light Karo Syrup
1/2 teaspoon salt
1 teaspoon vanilla
1 teaspoon baking soda

Boil sugar, syrup, vanilla and salt for 5 min. Then add 1 tsp baking soda (it will foam) Quickly pour over popped corn. Bake on flat cookie sheets (I used 9x13 baking dishes) for 1 hr at 200 degrees, stirring corn every 15 to 20 minutes.

Saturday, November 25, 2006

glass etching


For Christmas I am giving my mom a set of 4 plates etched with lighthouses from Coast to Coast. When I saw what people were making etching glass I knew it was a technique I wanted to try. I have to tell you it isn't extremely hard, but it does take some patience. I could give you step by step directions on how I made the plates, but the best instructions I have seen are in a tutorial by Vickie Maduzia on Splitcoast. This tutorial ROCKS!!!! Check it out here.

Here are some tips that I found out along the way...
--Make sure you like the image in versamark before you emboss it. On one of the plates I wiped the plate and reapplied the windex about 3 times before I was satisfied with the image. Let me tell you picking off the image after you emboss it ISN'T fun...(don't ask me how I know ;) )
--Words stamp backwards. You are stamping on the backside of the plate so check for any words. I didn't ink up the words on my stamps and on the ones that I couldn't not ink that part I used a dry aquapainter to take the embossing powder off that section before heating.
--Etching cream is very powerful and potent and gloves are supposed to be worn when using it. However I found that I was very clumsy with the gloves on and had too many etching cream "accidents" with them on. I couldn't feel the cream on my gloved fingers and I smeared it on things. For example I got some on one plate on accident and etched a little part on the edge. I found it was better for me to just be REALLY careful and leave the gloves off.
--Just a reminder BE CAREFUL-- that cream is powerful and will start working on whatever it touches. You only want to etch glass not the whole area you are working at. ;)

I used Coast to Coast to match a set of coasters I made my parents. Aimee also etched using this set. Thanks Aimee--I knew I could use Coast to Coast and have it look great by seeing what you had done! See Aimee's blog

Wednesday, November 22, 2006

7 Gypsies Bracelets


I finally got a chance to borrow a camera and take pictures of a few of the projects I have been working on. I will share more in the coming week because I have been working on a LOT of projects! (If you are family and you secretly read my blog you might want to give me a heads up so I don't share your Christmas gift on here ;) )
This is my 7 Gypsies bracelet. I made this one for myself and I have gotten a lot of comments on it. The paper I used is Crate paper-It is called "Dress up" from the Twirl Collection.
The bracelet comes in a kit. It comes with most of what you need including the bracelet clasps. Besides the kit you need your choice of patterned paper or pictures, Crystal Effects, circle punch, and something to squeeze the links shut.
Step 1: Punch the paper you want with a 5/8" circle punch.
Step 2: Adhere paper to the bezels with Crystal Effects. Only a tiny dot will hold it down just fine without having any squeeze out.
Step 3: Place Clear circle epoxy stickers on the paper you glued down
Step 4: Put the bracelet together by squeezing the links shut with a long flat nose pliers (or whatever it is called)
You might want to measure your wrist before using all of the bezels. The kit comes with 8, but my wrist only needed 6. You can also use extra links in between bezels if your wrist is just a little bigger than a certain size.

Friday, November 10, 2006

How Beauty is made

How Beauty is Made

This is a video that all girls and women need to see!
This is for all the girls out there who have ever compared themselves to a magazine picture and felt they came up short....For anyone who thinks they aren't good enough because they don't look like what they see on tv. This video is part of the Dove beauty campaign.

No Stamping this week.

I feel like I should be posting a new card or creation, but I haven't had the time to stamp this week. I did make a couple 7 gypsies bracelets, but they are Christmas gifts so I can't post them yet. One of my brothers is coming here to visit me for the weekend so I had to clean up and put away my stamping stuff. I have to admit I am a very messy stamper and it took me a while to clean so I can't take my stuff back out until after he is gone... :( So I might upload a couple of pictures or something fun, but don't look for new cards until early next week.

Saturday, November 04, 2006

White Castle


I got this picture in an e-mail from my brother this week. The caption on this picture reads "Just when you thought you'd seen it all Chicago (South Side) Wedding Reception"
I had to laugh. If you know anything about White Castle you would giggle too. I don't know if they have White Castles outside the midwest yet, but it is a place where you get square hamburgers called "slyders" which are greasy, stinky (they have their own unique odor), and yet absolutely yummy! They slide right down and often slide back up in the form of a big smelly burp! These sliders gross some people out, but for me the restaurant has some good memories. I have to say every once in a while I get a craving for a sack of slyders and all my family to eat them with.
yummy!

Friday, November 03, 2006

2006 Christmas Card Sample #1


Thank you so much to all of you who gave me your opinions for my Christmas card! (If you still have ideas be sure to leave a comment and tell me!) I spent all morning trying out the different ideas you left and seeing what would work. This is the first sample that I came up with. The final card size is 5x7. I started with the big snowflake in the right top corner because I knew I had more room there to do a cut away snowflake. I then just randomly stamped the snowflakes around the edge of the vanilla cardstock. I used my paper cutter to eyeball and cut a rectangle out of the vanilla leaving room to cut around the big snowflake. After it was all done I decided the card needed some sponging around the edges. The card base is Certainly Celery.
I love these colors for a non-traditional kind of Christmas card. I had the picture printed up in Sepia tones also and I think I will make that card a little more elegant for the relatives who would go into shock seeing a Christmas card in these colors. ;)
stamps: Snowflakes
paper: Very Vanilla, Certainly Celery
ink: Certainly Celery, Cool Caribbean, Regal Rose
other: ribbon, jewel (from Target $1 spot), and sponge

Saturday, October 28, 2006

Opinions Please

Many of you have told me you really like seeing all the Christmas cards I have made. I have enjoyed making all kinds of Christmas cards and sharing my ideas. Here is the deal. Most of the people I want to send Christmas cards to live out of state and haven't seen me for a while so I decided to send a picture card this year. I don't usually make cards with pictures on them so I am a little stuck. I thought I would show you the picture and ask for your help. I know the picture looks a little lame because I don't have a cute picture with a husband or kids, just me--I had to work with what I had ;) Please leave me comments to tell me 1. What colors you think I should use with this picture 2. What stamps you think would look cool with this picture or 3. What layout you think would look cool. I would be so grateful for your opinions!

Friday, October 27, 2006

We Have a WINNER!!!

Erica T. Congratulations you are the winner! E-mail me your address so I can mail you your prize.

Thanks everyone for all of your nice comments about my blog and cards. I loved reading them all!

Have a GREAT weekend everyone!

Thursday, October 26, 2006

Jury Duty

I got my first summons for Jury Duty service ever a couple of months ago for this week. I didn't have to go in Mon-Thu, but when I called tonight I found out I have to go in tomorrow. I don't mind doing my civic duty, but I have to report in at 7:45 a.m....Dude at least let me sleep in!!!
I will have to take my stamping journal with me tomorrow and think up some card sketches--might as well make my time sitting around worthwhile! Here is a card I made for a friend...hopefully she doesn't peek in on my blog because she hasn't gotten it yet. ;)

Tuesday, October 24, 2006

5000 views! Want to win some ribbon?

This morning my blog passed 5000 views! When I started blogging I never knew it would be this fun. Thank you to all of you who have come to see my creations! A special thanks to those of you who have left comments or have e-mailed me comments and questions! In honor of 5000 views I will be sending someone a sampler of ribbon from the Fabric Barn (my favorite ribbon supplier!) All you have to do to enter is comment on this post. I will choose a winner on
Thursday and post it on Friday. Here is another Christmas card for you to view. I promise I will start posting new and exciting non-holiday cards next week when things are a little less busy!

Thursday, October 19, 2006


I haven't been posting as often lately. Life has been really busy and I haven't had as much time for fun stamping. So you get another Christmas card from me today. I haven't made any cards with the snowmen from Festive Favorites yet and the stamp was looking a little too clean. ;) I also had a chance to cut up more of my Holiday Thyme designer paper.

Thursday, October 12, 2006

I Treasure your Friendship


I made this card for a good stamping friend of mine. Jami is such a great friend and I have so much fun hanging out with her and stamping with her. She is kind, generous and a great encourager. I met Jami on Splitcoast after I moved out to California. Someone once asked me if I purposely moved here close to her--um she might be a Splitcoast celebrity, but no I am not that much of a stalker!!! ;)
For this card I used the Matey Map jumbo wheel (big thanks to Sencie for sending me the image) I colored it with prismas and gamsol. The ship was cut out from a different section and popped up on the map. The background uses a stamp from Balmy Breezes stamped with Versamark. The sentiment is a stamp from Stampabilities (Thanks Mamakimberly) When I saw the sentiment I knew it belonged the pirate ship map. I truly treasure your friendship Jami!

Wednesday, October 04, 2006

Warm Winter Wishes


I have been on a roll with the splitcoaststampers challenges lately. This card goes with the color challenge (CC82) and the sketch challenge (SC92). Click the links to check out the challenges for yourself!

Hope you all aren't sick of Christmas cards yet because I have a lot to make before Christmas! I am not a person who can stick with one design and make 50 of the same card so I have to come up with a bunch of different designs. Basically each person gets their own personalized card ;) This is a non-traditional Christmas card with the palm tree, but I wanted something to celebrate the climate where I live. I thought "Warm Winter Wishes" added the perfect touch to the palm tree image ;)
stamps: Paisley (Background), Balmy Breezes, Snowflakes
paper: Certainly Celery, Old Olive, Very Vanilla, Black
ink: Real Red, Old Olive
other: Color Spritzer, Real Red Marker, SU ribbon, Mat Pack

Tuesday, October 03, 2006

Walking in a Winter Wonderland


I love making Christmas cards in untraditional Christmas colors. The card I made today was inspired by shoebox swap cards by Elyoho (Leann) and Denier at MiniMania.
Here are the steps for making the background--emboss resist
Background
1. StampCrosshatch in Regal Rose on Glossy cardstock (let dry)
2. Stamp small snowflakes in Versamark on glossy
3. Brayer Pretty in Pink on glossy cardstock
4. Wipe glossy cardstock with a tissue over versamark snowflakes. Snowflakes will be white after wiped with tissue.
5. Stamp small snowflakes in Close to Cocoa

Other notes about card:
--Background paper is glossy, the main image paper is shimmery white
--I inked the big snowflake in close to cocoa ink and then used a Chocolate Chip marker to mark the lines of the snowflake I wanted darker.
--I used my color spritzer to spritz regal rose on the main image.
--"Peace" is from All Year Cheer stamp that says "Peace Joy Love"

Sunday, October 01, 2006

SoCal MiniMania

Here is a picture of all of the ladies at MiniMania!

Wow what a great group of stampers in Southern California!!! Yesterday was StampMania MiniMania. We started off with a potluck lunch with yummy sandwiches, salads, and snacks. Thanks to Taylor, many ladies learned that "Puppy Chow" is really a snack and a very good one! I never realized that Puppy Chow was a midwestern thing and I was shocked when many ladies said they had never heard of it.
After the potluck we had a shoebox swap with GREAT projects. I have a lot of new ideas and projects to try. The stamping part was very fun, but my favorite part was the socializing. We socialized while stamping and then some of us went to Frantone's and continued to chat over dinner. What a fun day!

Puppy Chow Recipe
1/4 cup butter
1 cup chocolate chips
3/4 cup peanut butter
8 cups Crispix or other rice cereal
2 cups powdered sugar

Melt butter, chocolate chips, and peanut butter in the microwave. Pour mixture over cereal and stir to coat evenly. Pour 2 cups of powdered sugar into a paper bag and add the chocolate covered cereal. Close the bag and toss until the cereal is coated with powdered sugar.

Friday, September 29, 2006

Big Buckle


This is my card for the shoebox swap for Southern California MiniMania tomorrow. It is called a buckle card because the So Saffron layer "buckles" the card by going through the hole made by the word window punch. These cards are easy to make and fun to look at! I could give a tutorial on how to make them, but there is already a really cool tutorial by Beate at Splitcoaststampers--http://www.splitcoaststampers.com/resources/bucklecard.php
This card used the color challenge from this week--So Saffron, Bravo Burgundy, and Mellow Moss. This color combo is perfect for a fall card!
The leaf layer has a background made with the rough texture jumbo wheel in So Saffron. The Leaf stamp is from Tags and More and is stamped with Cranberry Crisp. The set has been around for a while, but I still use it often! It is a great set to get if you wanted images for different occasions. It has the leaf, candles, a dragonfly, a snowman, 2 stamps with flowers, a bunny, and a stamp that says "Just for you to:______ from:_______" The title of the set "Tags and More" is so true. They make great tags, but the stamps are also great for cards and other projects also.
stamps: Tags and More, It's Your Birthday, Rough Texture Wheel
paper: Bravo Burgundy, So Saffron, Mellow Moss
ink: Cranberry Crisp, So Saffron
other: ribbon

Monday, September 25, 2006

Do you know the most famous reindeer of all?


"Ruldolph the red nosed reindeer, had a very shiny nose.." Oh sorry ;) I made this card for a technique challenge on Splitcoast (TLC83) It is called a waterfall card. TLC83 - Waterfalls for fall - Splitcoaststampers Click on the link for details about the challenge and a link to the tutorial on how to make one. My card is a little different than most waterfall cards because the panels are rectangles and I only made 3 of them instead of 4. I have had so much fun making cards with these little reindeer!

Simple and Sweet


Some people can load a card with cardstock, ribbon, buttons, brads, and punches and even more make a really cute card. That isn't me. I try to make a card with a lot of stuff on it and it looks like a little kid's work of art (you know how little kids will have a pretty painting and then decide to just mix the colors right on top and "ruin" the picture?) I come from more of the simple is better philosophy. (Although I have been known to look at a card and say what would Jami or Taylor add to this ;) ) This card I am sharing with you all today is a LOT more simple than I would normally make, but it was a make and take for a class/workshop where the customers (who were mostly beginners) made 4 projects so I needed to keep them really simple. The other projects were more involved and used ribbon, paper piercing, tearing, etc, but this one was just kind of plain looking. They LOVED this card!
Paper: Cool Caribbean, Real Red, Whisper White
Ink: Cool Caribbean, Real Red, Certainly Celery, Summer Sun (Real Red Marker also)
Stamps: Seeing Spots

Saturday, September 16, 2006

Sneak Peak


Here is a sneak peak at one of the cards my customers will get to make at my Christmas card class. I CASEd this layout from the cover of the Holiday mini. I changed the colors and the Santa stamp. This Santa is from Holiday Tag Team

Thursday, September 14, 2006

Faux shaving cream


I tried a new technique for this card. The technique is called faux shaving cream. This technique gives the look of the shaving cream technique without all of the mess. The first step is to pick out a solid stamp for the image and a wheel that doesn't have solid images on it. I picked the rectangle from Simple Shapes for the solid image and the Blossoms and Bugs wheel. The next step is to pick colors. The best combos are light and dark shades of the same colors. I used Cool Caribbean and Tempting Turquoise. You want to ink the solid image with the lighter color (Cool Caribbean). Next ink the wheel with the darker color (Tempting Turquoise). The next step is a little hard to explain. You want to roll the wheel onto the solid image in kind of a zig zag pattern so it doesn't leave the exact image of the wheel, but kind of a smudge or swirled version. Stamp the image on paper and you have a faux shaving cream image. I did this technique on the rectangle and also the flower although the flower doesn't show it as well.
stamps: Simple Shapes, Seeing Spots, Warmest Regards, Canvas
paper: Tempting Turquoise, Cool Caribbean, Chocolate Chip, Whisper White
ink: Tempting Turquoise, Cool Caribbean, Chocolate Chip
other: brads, DMC floss, pop dots (for the sentiment)

Wednesday, September 13, 2006

Challenge


Challenges. I love a good challenge. I think challenges of all kinds spur us on to achieve things we didn't think we could do. When it comes to cards, Splitcoast challenges can't be beat. They have color challenges, sketch challenges, and technique challenges just to name a few. The challenges dare you to think outside the box and try new things. Today I tried the new sketch challenge for the week. http://www.splitcoaststampers.com/forums/showthread.php?t=182932 I had to turn the sketch on its side so it would work with my reindeer, but I think it turned out cute!
I used a sponge dauber to ink the main image layer with Creamy Caramel. The reindeer were colored with ink and a blender pen.
The sentiment is hard to read in the scan, but it says "wishing you many magical moments this holiday season!"
stamps: Weathered, Festive Favorites
Paper: Very Vanilla, Crisp Cranberry, True Thyme, Holiday Thyme designer paper
Ink: Black, creamy caramel, Crisp Cranberry, Chocolate Chip
other: gel pen, mat pack, sponge dauber

Monday, September 11, 2006

Christmas


Here is my first Christmas card of the season! It is just a simple card to get my creative juices flowing again. I used Festive Favorites and Warmest Regards (both SU!) for this card and the new Holiday Thyme designer paper from the Holiday Mini. This holiday paper is a MUST HAVE! cardstock is Kraft and Old Olive. I watercolored the the reindeer with creamy caramel to give them a little dimension. Thanks for looking.

Sunday, September 10, 2006

Do you ever have those weeks where you just don't feel very creative? I was sick this past week--physically sick and homesick and I just wasn't in a card making mood. Usually stamping cheers me up, but not this week. I tried to make a few cards, but those few attempts landed in the garbage can after WAY too much time trying to make them work! On Friday I got my Holiday Thyme paper and Festive Favorites set. Hopefully this week will be better and I will be able to create some fun Christmasy cards. So look for a post with new cards coming soon...

Wednesday, September 06, 2006

Labor Day weekend


This weekend my parents flew in to visit me. What a fun time we had! Here is a picture I took of them at the beach.

Friday, September 01, 2006

Does this look familiar?


Does this card look familiar? It is on page 82 of the Stampin' Up! Catalog and Idea Book. You might ask why I am showcasing a card that I copied and didn't think up myself. Well, this week I was challenged to go through the catalog and find one card and copy it exactly and find another card and copy the layout and change the stamp set and colors. I found it quite fun to do this challenge. I had never gone through the catalog looking at the layouts so closely. I found a lot of fun designs that I would like to try. I guess the point of all of this is to show you it is okay to find inspiration from what others have already created. Don't use the excuse "I am not creative," to put off stamping! Start with a card you like and CASE (Copy and Share Everything) it. As you stamp more you will be able to take different pieces and aspects of cards you like and make them into your own creations. So stop making excuses and STAMP!
(If this blog post inspired you to make a card please e-mail me a picture so I can see it!)
PS--if you are looking in the catalog for ideas and can't figure out how something is made or what supplies are used there are recipes in the back to make it easy to look it up.

Thursday, August 31, 2006

Clear card


Here is the clear card I promised to post. It really bothers me that clear cards don't scan well or show up nice in a picture because they are so cool in real life! If anyone has any tips for photographing them be sure to tell me.
To make this card I cut a rectangle out of a piece of typing paper. I inked up my script background stamp with staz-on ink and set the typing paper (with a rectangle hole) on top of the background stamp, then placed the clear card on top of that. It is very important to use staz-on ink for this because it is permanent and won't rub off.
The image layer has weathered BG in Creamy Caramel. The flowers are done with So Saffron and Bravo Burgundy. The edges are sponged with So Saffron to give a softer look. The words are stamped with Karen Foster Snap Stamps (1/8 inch casual). I used pop dots to adhere the layer to the clear card.

Monday, August 28, 2006

One Sheet Wonder


It is too late at night to give a long description for this card so I will just tell you it is part of a One Sheet Wonder (OSW) set. A description of what OSW is and more cards from the set will follow soon.
Stamps: SU-Bodacious Bouquet, It's Your Birthday, Canvas
Paper: SU-Cool Caribbean, Certainly Celery, Whisper White
Ink: SU-Real Red, Cool Caribbean, Summer Sun, Certainly Celery
Ribbon--From Fabric Barn
Other: Pop Dots--The flower at the bottom and the yellow flower (top right) are both popped up. Also the red flowers have beads in the center of them.

Thursday, August 24, 2006

"Love Always"

This post is dedicated to my grandparents. They have been married for 65 years and are still deeply in love! It is a love that has seen many happy times and sad times and is stronger because of them all. Just yesterday I was talking to my Grandma and she said about Grandpa "I think he's just wonderful!" They have a marriage that reflects their love of God and each other. It is hard to see them getting older and not being able to do stuff anymore. I love them so much.
I made this scrapbook page with a picture I took about 4 years ago. I develped the film and made the print myself (I was very proud of how it turned out;) ) I think the picture shows their personalities and their love for eachother.
The patterned paper I used is Recollections by Stampin' Up! The cardstock is Bravo Burgundy and Mellow Moss. The stamps are also SU. I did a blanket stitch with Moss DMC floss. I don't know if you can see, but the main sentiment says "Love" and the tag says "Always"--Those two words pretty much sum it up!

Wednesday, August 23, 2006

A few of my favorite things (to put on cards)

Today the creative juices were running and I created 3 cards. One of them was even a clear card! For those of you who haven't seen a clear card it is a card that uses a transparency as the card base. Unfortunately I can't share any of my cards with you because my scanner is a beast and isn't showing my cards at their best right now. I will try to take digital pics sometime this week so I can share.

I thought I would share a top ten list with you.

MY TOP TEN FAVORITE CARD EMBELLISHMENTS

1.Ribbon--this is definitely my #1 favorite!
2.Brads--Black and antique are my favorite colors.
3.DMC floss (for stitching or hanging tags or tying buttons)
4.Pop dots--does this count as an embellishment?
5.Glitter--Stickles or Dazzling diamonds
6.Jewels--perfect for adding a little bling to a necklace, purse, flowers, shoes...okay last week I even put a jewel on a dog collar.
7. Punches--I love all different kinds of punches-They each embellish a card in their own way!
8. Buttons--You have to have ribbon tied through the holes.
9. Gel pen--I love the different stitches that can go on a card.
10. Hodgepodge hardware-#10 because I don't have my own set yet so I have only used HH a few times.

Sunday, August 20, 2006

Friendship


On Saturday I hung out with 6 of my stamping friends and had a blast! We get together and share stamps so that we all get to stamp images of stamps we don't own. Of course, often one person will convince the others that they NEED a certain stamp set or accessory! I can't say I always get a lot of stamping done in between the eating (thanks for the cake Emily!) and laughing and chatting , but I always leave inspired! This card I made using Emily's new stamp set from the Holiday mini called "Think Big." Now I like it so much I think I might need the set! The ribbon I used is grosgrain that matches SU! colors Cool Caribbean and Certainly Celery. I sell it (5 yards for a $1) in case anyone is interested.
Stamps: SU--Think Big and Crosshatch
Paper: SU--Pixie Pink, Certainly Celery, Whisper White

Friday, August 18, 2006

Comfort Color Combo


Just like people have "comfort food" I think stampers have comfort stamp sets and comfort color choices that they can always count on. This card uses one of the first color combos I fell in love with when I first started stamping--Pale Plum, Perfect Plum, and Mellow Moss. I think I liked it because it was an easy combo, great for flowers of all sorts, great for 2 step stamping and best of all no one could deny it matched--I mean PALE plum and PERFECT plum they must go together! I have since come to love other color combos (my recent favorite being Regal Rose, Rose Red, and Certainly Celery), and I have even stepped away from comfort color combos and tried a few color challenges--I have come a long way ;). I hadn't used my plums for a long time so it was fun to drag them back out, dust them off and make a card with them. So I challenge you to go dust off an old favorite--stamp set or color combo--and create a "comforting" card! All images and paper from Stampin' Up!

Monday, August 07, 2006

Coloring 101


When I got my tin of 120 prisma colored pencils I was very excited. I couldn't believe all the shades of gray there were! Then came the time when I had to sharpen all of the colored pencils and I was not so excited! So the tin sat for a while with half of the pencils sharpened. I used the colored pencils and I liked them, but I disliked how my images looked like (in my opinion) a 2nd grader colored them in. You could always see the pencil lines in my image. Then I learned about gamsol magic and saw some BEAUTIFUL coloring on other people's cards so I bought the gamsol and stumps to try it out. I have had the supplies for over 6 months and I have used them, but I didn't LOVE the technique. This weekend I decided to dust off my gamsol and give the technique another try. So I made a couple of cards. This image gave me a LOT of practice!!! The stamp of the girlsis from Inky Antics (I think) , I also used SU Fresh Fillers, Little Pieces, and Just Jeans. You can't really see it, but I also used a glaze pen to highlight different parts.

Thursday, August 03, 2006

Saran wrap, photo corners, and color spritzer oh my!


Here is just a quick card I made today using my newest fun background--stamping with saran wrap! All you do is crinkle up saran wrap and ink it up like you would a stamp and pat it on the paper. You can decide to make it very subtle or dark. I love that it is fun and cheap! I also tried making a photo corner for the first time on this card. I got directions for making a photo corner off of Amy R.'s blog. If you haven't been there check it out, she has lots of neat stuff there! http://prairiepaperandink.typepad.com/amyr/ Oh yeah, I also used the color spritzer tool. That is how I did the blue specks on the main image layer. I was just about to get rid of my spritzer tool when SU! put it back in the catalog. I love it and I am so glad I can demo using it again!

Wednesday, August 02, 2006


I love this new Stampin' Up! set called "Time with You." It makes me want to go hang out and drink lemonade with my girl friends. I just thought I would share this card I made with the set with you. The phrase is one I made up from the old saying, "when life gives you lemons, make lemonade!"

Tuesday, August 01, 2006

Fabric Barn--a must see!

Today I visited the Fabric Barn with friends. If you live in southern California you MUST visit the Fabric Barn. No, not for the fabric ;) This place has tons of cool, inexpensive ribbon!!! Today my best buys were Certainly Celery and Cool Caribbean (grosgrain) and Marigold Morning and Buckaroo Blue (Satin). Fun times! I can't wait to start making cards with my new ribbon!!!

LinkWithin

Related Posts with Thumbnails